You’ve got your copy of Root, you’ve got your friends together, and you’ve got no clue what you’re doing with the faction you’ve chosen! If you’ve read our review of Root, by Leder Games, you know that we love this game, and we’ve played no small amount of it. Maybe, like us in our earlier games, you’re looking to get more out of your favorite faction and are more than a little lost with the asymmetrical, fluid dynamics of this game.
Consider this your helping hand! I’m not claiming to be a master of this game yet (in fact, my Woodland Alliance lost the last game I played to a wily and aggressive Vagabond), and this list of strategy tips is not all inclusive. But I’ve played enough, talked about this game enough, and taught the game enough to know what’s good when it comes to the general game plan of each of the factions (expansion Otters and Lizards included). If you need some strategy pointers, look no further than our next, more in-depth look at Root.
Editor’s Note: We’ll be assuming you’re working off the recent errata corrections on the rules as well as the proposed updates to faction balance for tournament play. What you’ll find ahead are brief overviews dedicated to each of the core and expansion factions, with a general strategy section that applies to all near the end.This article is longer than our norm, so feel free to cut to the sections you need!
The Marquise De Cat
Pros: Large number of warriors, efficient recruiting, field hospital saves even more warriors, the best at clogging travel through clearings.
Cons: Needs continuous clearings ruled to build, tricky crafting, easy to forget about your backlines, reliant on buildings, you are the main antagonist after setup.
Breakdown: The Marquise de Cat is the master of modernization in the forest. Your objective is to hold clearings and build buildings. The more you build, the faster you win. This means your first building should almost certainly be a lumber mill; you’ll probably want at least one more on your next turn as well. Lumber mills, according to the designer, are arguably your most valuable building, so defend them well. Losing them can cost you a large amount of tempo late game when you cannot afford to fall behind.
You start out with nearly the whole forest under your control, but it won’t stay that way for long. Remember that you get the most points from buildings, so rather than waging war on all fronts, it’s smarter to draw a line across roughly half to one third of the map, pull your starter warriors back to reinforce those positions, and give a few early clearings to the other factions. Remember, you want to build, so only fight when you have to. It can be useful for others to wipe some of your outer clearings, as this will give you more opportunity to march in and build them back for more points. Only consider going on a major offensive if all your building slots are full and you need another clearing; though at that point you’re probably about to win anyway.
You haven’t really fought a battle as the Marquise until you’ve stacked 8+ cat warriors in a clearing. Use multiple recruiting posts to stack lots of warriors in one action, use your move actions to march troops into big clusters, and garrison around key points (usually with several of your buildings). It can sometimes be more valuable to sit on a clearing and choke the woodland paths than to move armies out and leave your valuable buildings exposed, especially to a sneaky Vagabond. Stomp out Woodland Alliance sympathy, even at the cost of cards, to prevent key clearings from revolting. If you can convince the Vagabond to clear ruins early in the game, it will only give you more space to expand.
Be warned - no one likes the cat people. You will have many rebellions to squash!
Their large armies and propensity to garrison in clearings makes the cats an ideal faction to branch off into dominance card victories. For progress!

The Eyrie Dynasties
Pros: Potentially the most powerful military in the game, relatively easy to craft with, rule clearings on ties, more efficient than any other faction if you can plan ahead.
Cons: Crashes and burns if you cannot plan ahead, can sometimes be easily “messed with,” highly dependent on card draw, disdain for crafting when VPs are involved.
Breakdown: The old rulers of the forest want their lands back! As the birds, you need only keep roosts active on the board, so make sure you’re building at least one per turn; any turn you haven’t built a new roost is a missed opportunity to ramp your scoring up. You’ll want to start by slotting two cards into your decree on your first turn for some early juice; a bird card in “build” is the most helpful, if you don’t already have one from your viziers, to help you drop that new roost every turn no matter your newly conquered clearing. If you don’t have a bird card in your opening hand, consider how you will use the move action to reach the suit of your build clearing going forwards; you will need a decent force quickly to bounce around the map. Unless you are losing roosts quickly, I would be very cautious about slotting a second build order. Any unfulfilled decree orders can spell the end of your turn.
After turn one, slot two cards in the decree again if you have good choices or if you feel comfortable with what you have. Otherwise consider slotting one card and managing your orders more easily. Do what you’re comfortable with, as slow and steady is a better alternative to early turmoil. Speaking of which, cards are your best friend. The worst early mistake you can make is playing/crafting too many and being stuck with only one or two cards in hand, neither of which are helpful, on your next decree slotting. As such, if the Vagabond is in play, and even if you have a “disdain for crafting,” consider crafting anyway as a means of getting more cards from the Vagabond; it’s also still worth a point here and there, which is never a bad thing.
Remember that you only need to fulfill your decree to not go into turmoil. Don’t be concerned with “winning” in a traditional wargame sense. It’s ok to send a warrior into a pointless death just to clear your “battle in a bunny clearing” order. Similarly, you can’t hold everything forever. It’s ok to lose a clearing, and a roost, if it means you can retake it next turn and avoid turmoil. Be aggressive! You need to be a target to some degree so that ensuing conflicts ensure valid targets for your future decrees. Keep a special eye on your “recruit” clearings, though, as losing access to a suit slotted there is an easy way other factions can disrupt your decree. Ambush cards, craftables, and a few extra garrisoned troops are all valid defenses.
Your decree will probably make it hard to achieve a dominance victory, but your excellent military, recruiting, and movement powers could enable it. Consider dominance victory a maybe for the birds. They who dare, win!
The Woodland Alliance
Pros: Can defend with relatively few warriors, gains power when sympathy is opposed, relatively easy to craft with, revolts are powerful.
Cons: Slow start, often have to settle for less than ideal revolt targets, fewest warriors, potentially stagnant if their base clearings are ruled by another faction.
Breakdown: The Robin Hood faction, hiding in the forests and spreading word of freedom to the populace. Your goal is to spread sympathy. Remember, like the bird and cats you don’t necessarily need to win battles as much as you need to drop those sympathy tokens. Your first on the board is at any location, so pick a non-garrisoned clearing around the middle of the board that your starting setup gives you cards to play in to. From there you will want to load your cards into your supporter deck and get your initial three sympathy tokens down; whether you choke the middle of the board or go for crafting symbols is up to you. I will often dump most of my hand into my supporter pile to max it out early on. While it’s tempting to use your bird cards to easily spread sympathy, consider holding them back to make suit pairs for revolts. You’ll be glad you did.
Like the Eyrie, you benefit heavily from having the right cards ahead of time, so if a Vagabond is in play crafting can be a good source of income. Knowing when and where to cause revolt is the other big concern. Keep in mind a sharp player probably won’t let you keep sympathy in a high value clearing, so you need to be ok with putting your bases in less-than-perfect locations early on. If two major armies are in play, you can afford to let them balance each other, but if there’s only one major military faction in play you will need to revolt earlier to help rein them in; convincing other factions to join in can also be helpful. And remember: in the mid to late game, sometimes the threat of revolt is just as useful as revolt itself!
“How many officers is too many” is another common question. Four or Five total is ideal by the endgame. Three is often too few and more than five limits your available warriors. Finally, early sympathy tokens are pretty easy to drop, but as they get more expensive (and garrisons become more common) you’ll need a better way to spread the word of your good cause. Your best tool is the “organize” action, sending your warriors under cover to work within a clearing’s population; this can be locked down if you rule neither your base clearing nor the destination (the latter is almost guaranteed), so make sure you keep the enemy from taking a ruling status in your base clearings.
Your low number of overall warriors means that you are not ideally suited for a dominance victory. You’d best stick to your main game plan with the Alliance. Good luck on your mission, should you choose to accept it!
The Vagabond
Pros: Great movement, can take lots of actions, multiple sources of VPs, isn’t usually attacked early, starting equipment and playstyle highly modular.
Cons: Slow VP gain, movement limited while hostile, somewhat limited by card draw, has trouble crafting more than basic items.
Breakdown: The lone wolf. Or beaver, or raccoon, whatever identity you choose for your vagabond! Versatility is your greatest weapon. You earn VPs from clearing ruins, fighting, completing quests, and aiding the other factions (as well as the normal removal of tokens and crafting). Unfortunately, your initial gains are slow, so you’ll be pulling out a victory only if you can hamper all other sides long enough to ramp yourself up. You have two big paths to victory, but you’ll be playing the long game towards both of them: go hostile (usually about half way through the game) and rake in the points from destruction, or “pacifist” when you aim to get level 3 reputation with a faction, stack your hand, and aid them multiple times in a turn to lunge for the victory (or a little of both with two different factions). Both are viable and will probably depend on…
What starter did you pick? Even more important than your printed ability (though they are very useful) is your starting equipment. Certain Vagabonds have higher equip limits based on what they start with: the wolf can get 2 crossbows and 3 swords while the beaver can achieve 3 hammers, just to name a couple. When combined with their printed abilities, you should begin to see a “preferred” path emerge. You don’t have to stick to it, but you’ll usually find your game easier if you do at least a little.
Your early game should be spent clearing ruins and aiding for crafts, as equipment literally translates to more actions every turn. If you see an opportunity to complete a quest, feel free to snag 2 extra cards for it. As you transition into the mid game, it’ll be up to you to decide which of the two main paths you want to explore; you can also combine them, going hostile with one faction while you work another up to level 3. Just make sure if you’re going hostile that you actually have the means to profit from it, and watch out that the new movement restrictions don’t block your paths to aiding your friendly faction. You’ll probably want at least 2 swords, and the crossbow is a big help. Many players are reluctant to commit resources to attack you since it only really slows you down a turn, so use that against them! If you can wipe out most of their retaliatory forces, you might even get away with minimal wounds. Final note, don’t neglect getting boots; “slip” is a powerful ability, but it only gets you so far by itself.
While the Vagabond can’t win via dominance, they can use those cards in a 4+ player game to go for a coalition victory. There’s no easy call when it comes to tossing your lot in with the last-place player, so knowing when it’s best to do this is going to come down to experience and preference. My gut tells me you might be better served by uniting with a faction that does burst points really well like Riverfolk, the Alliance, or possibly even the Lizard Cult. Good luck, wanderer!
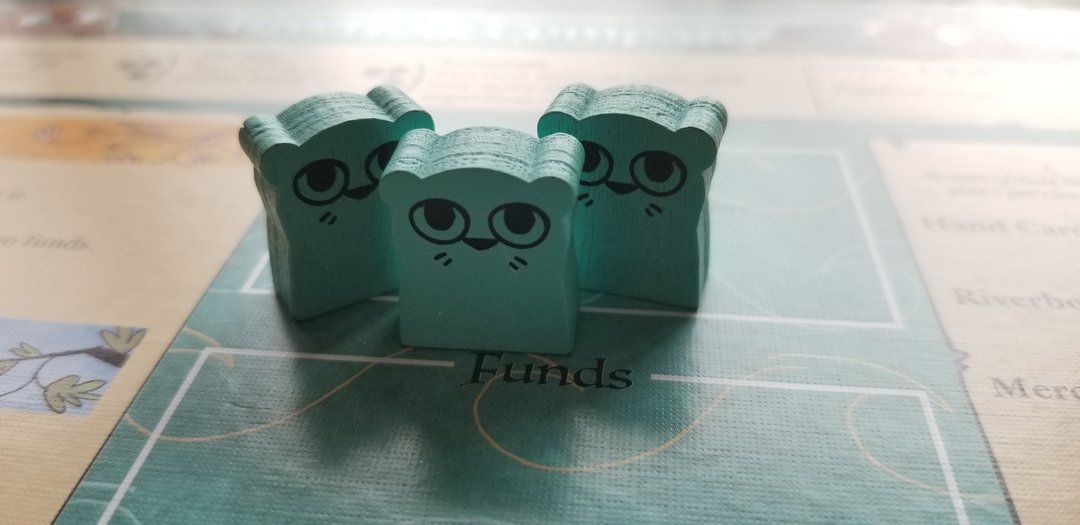
The Riverfolk Company
Pros: Easy access to card draw, accelerated early game, range of clearings to recruit in, arguably easiest crafting in the game, very flexible.
Cons: Few surprises (hand is played face up), very dependent on funds, tricky late game.
Breakdown: They are the merchant faction going for the economy-based win. Mostly. It’s also a mistake to underestimate their warriors. As the otters, you earn points through placing your trading posts (1 time only) and by scoring dividends on unspent funds. To do both of these things, you’ll need money. The otters exist in a weird spot, as if no one trades with you (usually late game) your engine stalls, but as long as one person buys from you everyone will try to buy a little something so as not to “fall behind” that player. As such, pricing your early goods right is essential. I’ve seen cards sell for 3 “monies” early on, and if you only sell two you’ll make a killing. But I’ve also seen people grease the wheels by pricing at 2 and selling most of their hand. Gauge the board. Lizard and Eyrie players want your cards badly to accelerate and guide their setup. Alliance doesn’t have a lot of cash on hand, but they will make small purchases, as well. It’s worth it to spend initial funds to draw on subsequent turns so you can continue selling cards. You’re not likely to sell much in the way of mercs or river boats early on, so price them low just in case someone’s considering them.
Keep in mind that if you don’t have the right funds to build a trading post in a particular clearing, you can move a group of your own warriors in to change the ruling status and use your own “funds” to build. Other handy tricks include jacking prices up to 4 when you’re ready to keep your hand to yourself and go on the offensive (usually late game when no one’s buying anyway); if they want to mess with you by taking away your good cards, make them pay through the nose for it. Don’t ignore crafting! You’re the merchant faction, so act like it! Let alone VP gains from crafting a sword or coin purse, A Better Burrow Bank or Tax Collector gives you fund-less card draw every turn, and no other faction is as capable of using the “Favor Of” cards as you. You get points for removing tokens, so a Favor Of is just as great for closing out a win as it is a prelude to assault; just remember, you having it is no secret.
As far as scoring dividends, it may be tempting to leave a bunch in the box and get lots of free points, but in practice it’s almost always better to move/spend those funds. If you try to score more than one or two free points off dividends, someone’s likely to come raid your coffers. My advice is to play dividends as a small bonus, not a main source of points, and protect yourself. Save your money by tying it up in investments.
The real challenge comes around the mid to late game when people realize buying more from you will hand you the win. Players will often collectively embargo you unless desperately behind. Your engine will stall without a steady stream of funds, and placing your last few trading posts can get tricky. Be a good merchant and set yourself aside a rainy day fund. Don’t spend those last two cat/bird/lizard funds so you can sneak out that third trading post you need. Other valid sources of final points can be through crafts if you can draw some. You can also drop warriors in anywhere along the river, allowing you to strike at key points as long as you have some money saved up. And remember, you can do wonderful things with player greed; as long as you don’t burst too many points in a single turn, people will usually keep trading with you. Timing your midgame point burst is very important.
While you can recruit in a variety of clearings relatively easily, amassing the movement and warriors needed to get in position for a dominance victory is going to be difficult for the otters. It’s possible, but I’d lean more heavily on your myriad of other tools for snatching points. Remember, where there’s mud, there are clams!
Please make sure you’re familiar with the errata and tournament rule changes from the editor’s note, as the lizards received the bulk of the changes.
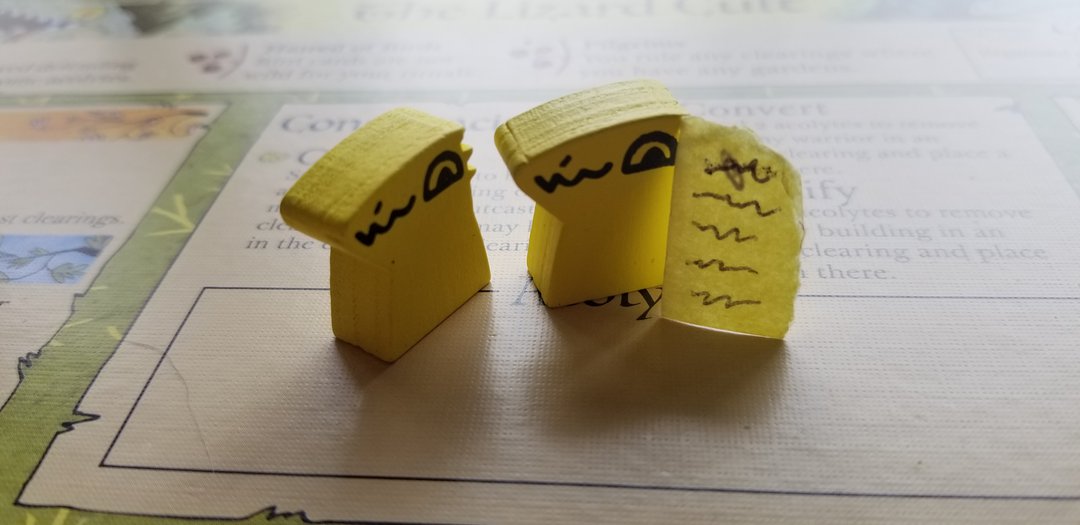
The Lizard Cult
Pros: Doesn’t use traditional movement much, large number of warriors, fighting them makes them stronger, gardens give immediate ruling status, conspiracies are powerful.
Cons: doesn’t use traditional movement much, heavily reliant on card draw, vulnerable to removal effects, has difficulty crafting, can be hard to reach “hated” status.
Breakdown: The Lizards just want to spread the word about their own good cause amongst the forest denizens, especially those downtrodden ones who are losing hope. So they say. They gain points through placing gardens and triggering scoring in those clearing’s suits. Of all the factions, the lizards are definitely the weirdest one; we haven’t seen them win a single game yet, but we also haven’t played with all the rules changes and are eager to try them! From a mechanical standpoint, these changes seem to fix a lot of what held the lizards back in the first place: that is, being too dependent on the random draw of their cards, using too many without enough effect, and not having enough control over the outcast suit.
In order to place gardens outside of conspiracies, to score, to charge up acolytes outside of combat, and to do pretty much anything, the lizards need to reveal cards from their hands. That means the earlier you can get your hands on more cards the better; if Riverfolk are in play, just pay them whatever they ask for. They’re probably not charging 4 for cards to start, anyway. With the rules changes, all your +draw symbols are beneath your second gardens, so taking an early clearing with two building slots ensures (with proper cards for building) that you can net an early draw symbol. Crafting is difficult for lizards, but if you get the opportunity, take it! The points and aid from a vagabond player are always welcome.
One of the other problems the lizards face is controlling the outcast suit to become hated. It’s almost never worth it (unless you’re desperate and low on options) to spend acolytes at full cost, so save them until the right moment. Keep in mind that overdrawing beyond your hand limit, scoring, and crafting will all drop cards through your “lost souls” pile. In this way, you can influence the balance of the outcast suit without relying solely on other players. We’ve seen it come up tied between suits as often or more than we’ve seen it switch, so with the new rules changes you are far more likely to actually achieve “hated” status.
Finally, with their atypical ability to crop up in nearly any clearing, the lizards are well positioned to achieve a sneaky dominance win. Have a good time knocking on doors and spreading pamphlets!
General Strategy Tips For All
While this article has gone on quite a bit already, the interplay between factions depends heavily on which mix is currently in your game, so it’s still worth noting some general tips to shape your thoughts during play. With that in mind, I present them here in no particular order:
• At the outset, consider the factions selected for play. If two “large army” factions are present, their clash will probably dictate the basic flow of the game. On the other hand, if only one large army is present, you’ll have to ask yourself who is going to balance them out. The Alliance may have to revolt earlier than they’d like just to get a base and warriors on the board. The Vagabond may need to go hostile earlier. You should always question if you’re letting a particular player run away with points unopposed.
• Don’t just bash the leader. Obviously if someone’s pulling away in points or is about to win via dominance, you need to bring them back in line. But too often this can simply lead to whoever is in second place waltzing into a win instead. It may take a couple of games to get the hang of, but you need to keep an eye on at least the second place player as well.
• How long has it been since you attacked the Vagabond? No one likes to do it, but someone will have to. Unless you are planning on rushing a win before the Vagabond, you’ll have to confront the raccoon in the room eventually. Don’t see it as losing an action and resources. Look at it as an investment to slowing down the player who’s going to pass you eventually. Before “quick, bash the leader” comes up.
• Draw, draw, draw. Cards are power, no matter who you are. Granted some factions need them more than others, but it’s never a bad idea to get as many cards as you can.
• You can’t hold everything. And you shouldn’t try. You will overextend and back yourself into a corner if you try to play this game like a traditional wargame. Prioritize and ask yourself what you can do to get the most points. Sometimes losing tokens from the board gives you more opportunity to put them back on and earn more points again. Remember that, as the Eyrie, you can also go into turmoil if you don’t have enough warriors to fulfill your recruit actions, so getting some killed can be a very good thing.
• Table talk is a real thing. Other reviewers have said it already: other people can do more to you collectively across their turns than you can do alone on yours. Again, if you try to play this like a straight wargame, you will probably lose. Make alliances. Make deals. More so than several other games I’ve seen, the mechanics here lend themselves very well to forging deals and giving each other aid. It’s a political wargame at heart, so if you’re not taking advantage of that, you’re not making the most out of your situation. Some factions, like the Riverfolk, benefit heavily from reminding other players about all the good things you can do for them.
And above all else, have fun! This game tells a story, so enjoy the tale. I’ve seen games of great warring armies and the disillusionment around the fringes of the conflict. I’ve seen stories of shadow wars and people disappearing in the night. I’ve seen tales of utter devastation that have left our forest devoid of life for whole clearings in any given direction. The best thing you can do while perfecting your strategy is to watch your own stories unfold and see how your choices affect the dynamics of the games you play. You’re at your best when you’re open to what the game has to offer, and you’ll have a better time while taking it all in. It’s worked for me, and I hope it will work for you as well.